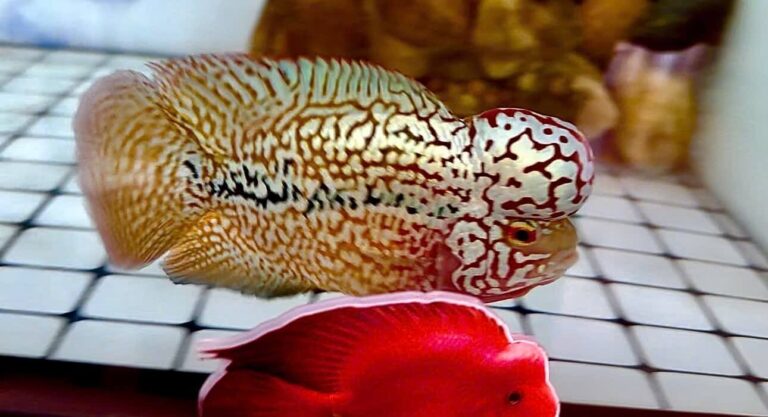

Gallery
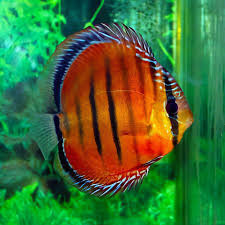
Description
Gallery
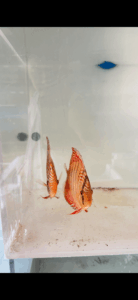
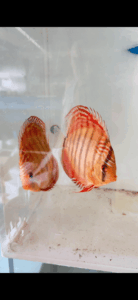
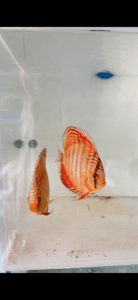
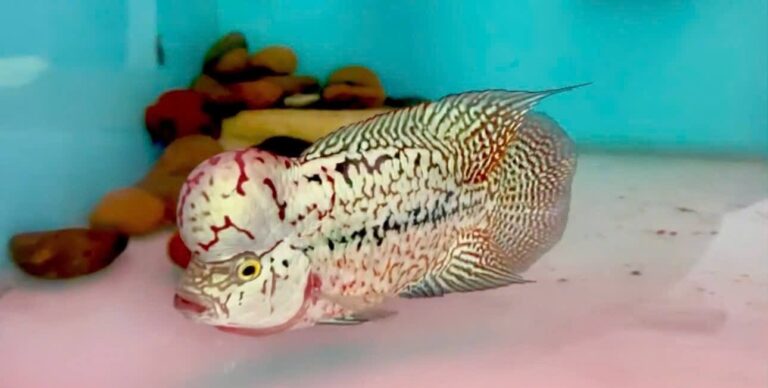
Description
Breeding discus can be a rewarding but challenging experience, requiring dedication and attention to detail.
Here’s a breakdown of the key steps involved:
1. Selecting and conditioning the breeding pair
Source: Buying a proven breeding pair from a reputable retailer is the quickest way to start. Alternatively, you can purchase a group of juvenile discus (5-10) and wait for a pair to form naturally. Ensure the discus are of the same or compatible strains to avoid undesirable offspring.
Sexing Discus: Sexing discus is notoriously difficult. The most reliable method is observing the breeding tubes, with the female’s being larger and blunter, and the male’s smaller and pointed. However, even experienced breeders can be fooled.
Health and Conditioning: Ensure the selected pair is healthy, well-fed, and disease-free. Feed them a high-quality, protein-rich diet regularly, such as chopped beef heart or specialized discus food supplemented with bloodworms and spinach. Discus should be at least 5.5 inches (female) to 6 inches or more (male) for optimal breeding.
2. Setting up the breeding tank
Tank Size: A dedicated breeding tank is crucial for success. A 29-gallon tank is often preferred, but a 20 or 40 gallon can also work.
Bare Bottom: Breeding tanks should be bare bottom with no substrate or decorations to simplify cleaning and help fry find their parents.
Tank Coverage: Paint the bottom and three sides of the tank with a light color to provide a sense of security and help fry locate their parents.
Equipment: Include a sponge filter, heater, and a breeding cone (or a suitable alternative like a PVC pipe or clay pot).
Lighting: Dim lighting or natural ambient light is preferred, avoiding strong light that could stress the fish or be counterproductive.
Maturity: Crucially, the breeding tank needs to be mature and fully cycled for at least four months before introducing discus. This ensures a stable environment with established beneficial bacteria colonies.
3. Water requirements
Water Softness: Soft water (low calcium content) is vital for successful discus breeding, as hard water can calcify eggs and prevent hatching.
RO Water: An RO (Reverse Osmosis) system may be necessary to achieve the desired water softness, aiming for a TDS (total dissolved solids) level of around 80 ppm initially.
pH: Maintain a stable pH between 6.0 and 7.5. While discus can tolerate a range of pH, rapid fluctuations are harmful. Monitor pH closely, especially when lowering TDS.
Temperature: Keep the water temperature between 80 to 82 degrees Fahrenheit (26.60 to 280 C). Some sources suggest a range of 82 to 86 degrees Fahrenheit.
Water Changes: Perform daily water changes of 50% or more, especially when fry are present. This is crucial for maintaining pristine water quality and preventing disease. Some sources recommend avoiding water changes with fresh eggs or wigglers.
Nitrate Levels: Keep nitrates at a minimum by performing weekly water changes and siphoning out waste. Aim for nitrate levels below 20 ppm.
4. Spawning and egg care
Courtship Rituals: Observe for signs of courtship, such as the “bow” dance and cleaning of the breeding surface.
Egg Laying: The female will lay adhesive eggs on the chosen surface, and the male will follow to fertilize them.
Egg Care: The parents will fan the eggs to circulate water and remove unfertilized or diseased eggs. Consider adding methylene blue to prevent fungus if desired. If parents eat the eggs, consider using a screen around the breeding cone to protect them.
Hatching: Eggs typically hatch within 48-56 hours, producing “wigglers” that remain attached to the breeding surface. Gradually transition the water towards harder parameters after the hatch.
5. Raising the fry
Free Swimming and Attachment: Around 48-56 hours after hatching, fry become free-swimming and should attach to the parents to feed off their slime coat. Parents will darken to attract the fry.
Troubleshooting Attachment: If fry don’t attach, you can try lowering the water level, removing the sponge filter, dimming the lights, and providing the darkest area around the breeding cone.
Feeding Fry: Start feeding freshly hatched baby brine shrimp around three days free swimming, using a brine shrimp hatchery to ensure a continuous supply. Feed frequently (e.g., 4 times a day).
Water Changes (with Fry): Continue frequent water changes (50% daily minimum, 80% twice daily is better) during the fry stage to maintain pristine conditions and prevent disease. Some sources suggest avoiding water changes with fresh eggs or wigglers.
Transitioning to Solid Foods: Gradually transition fry to finely ground foods like micro pellets, flakes, and frozen bloodworms once they show interest in the parents’ food (around 2 weeks) and start eating on their own.
Separating Fry: Separate the fry from the parents once they are readily eating solid foods, typically around three to four weeks.
Culling: Cull any fry with deformities or poor growth to maintain the quality of your stock.
Key considerations
Patience: Discus breeding requires a significant amount of patience, as success can take time.
Cleanliness: Maintaining a pristine environment with excellent water quality is paramount.
Stress Reduction: Discus prefer a quiet, low-stress environment for breeding.
Parental Care: Discus are excellent parents, providing essential nourishment to the fry through a slime coat.
Learn Your Water: Understand the specific parameters of your tap water and how to adjust them for breeding success.
Breeding discus can be challenging, but following these steps and maintaining a consistent, high-quality environment can significantly increase your chances of success.